Knowing how to install a replacement VESDA filter cartridge is essential for an owner of any VESDA or Xtralis aspirating smoke detector (ASD) system. Arguably, the filter is the most important part of any VESDA system. It ensures that the detector maintains high sensitivity without activating any false alarms. To do this, the filter traps large particles from the air before it enters the detector. Consequently, VESDA systems may be used in harsh environments, where there might be excess pollution and moisture in the air. This worry-free detection solution operates insofar as you are diligent in maintaining your system and replacing your air filters. Like with any detector, maintenance is important. Over time, these filters can become clogged or contaminated with dust, debris, and other particles, which may reduce the system’s airflow, sensitivity, and performance. As such, we will outline how to replace your air filter for all your VESDA systems.
Remember to replace your filters at least every two years. In addition, you may need to replace sooner depending on your detector’s environmental conditions. If your detector is in a relatively harmless location, then the filter may take longer to accumulate dust and debris. In this case, you may benefit from waiting the full two years before replacing your filter. Also, you must always replace your filter after an actual fire event due to filter contamination. Keep in mind that filters cannot be cleaned or refurbished, so you should always replace your old filters with new ones.
Keep Reading: CPVC Aspirating Smoke Detection Pipes From Viking Plastics >>
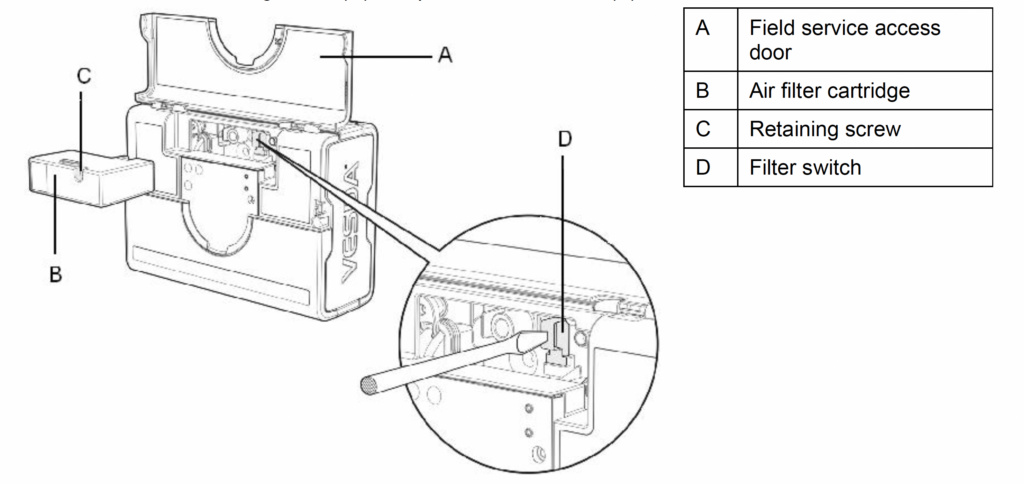
The VESDA VSP-005 may be used to replace filter cartridges for the VESDA VLC, VLC marine, VLF, VLP, and VLS aspirating smoke detectors. Here are the steps to replacing a filter for the VESDA VLP and VLS:

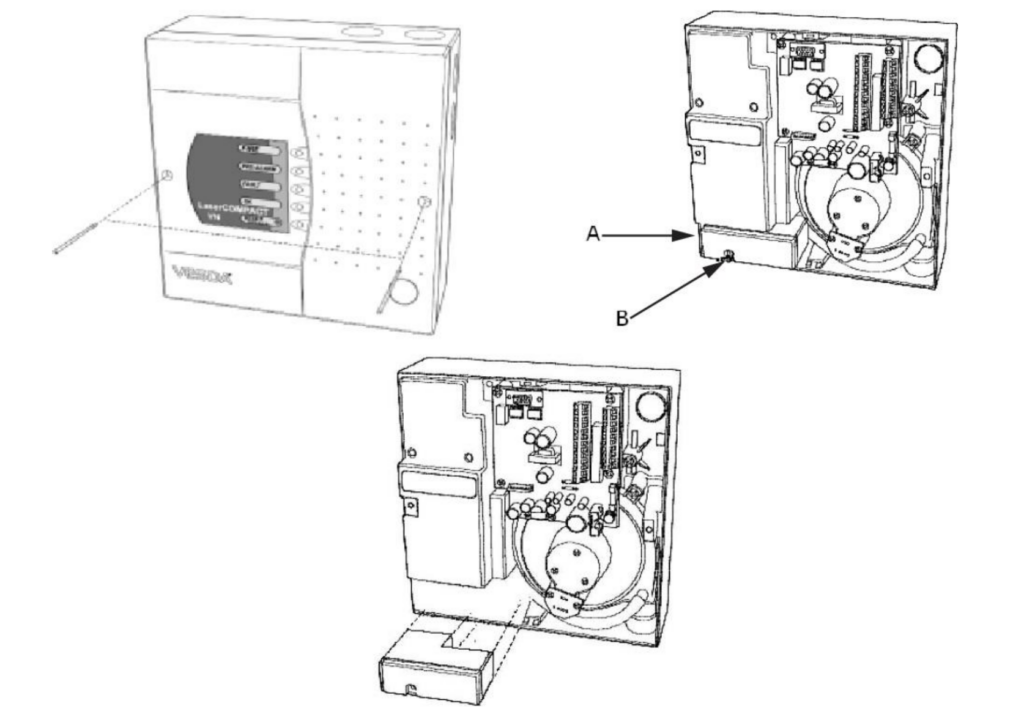
Installing a filter cartridge for the VESDA VLC:

Installing a filter cartridge for the VESDA VLF:

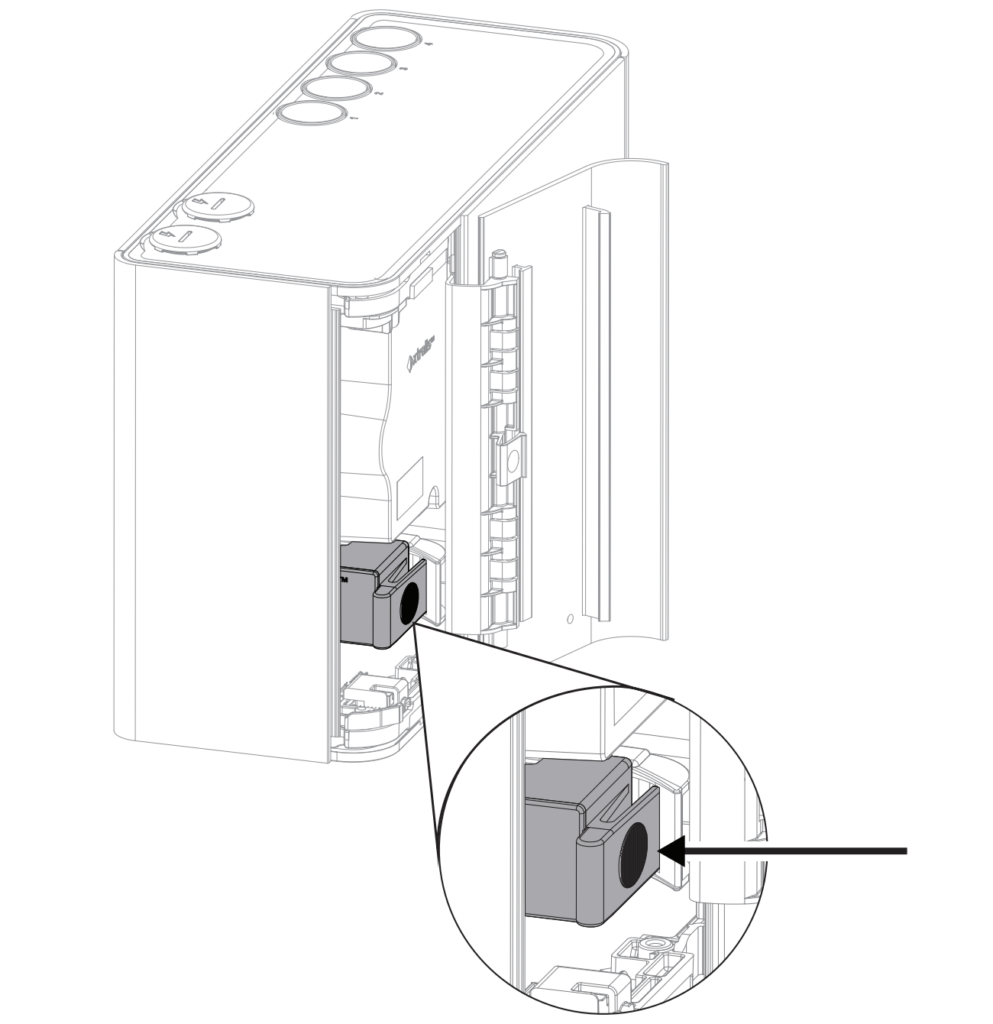
On the new units, replacing a filter is as easy as changing an ink cartridge with the filter locking mechanism. Additionally, it is no longer necessary to turn off the 24V DC power to the detector when removing the filter. Once you replace the filter, you will hear the aspirator automatically shut down and start up again as needed.
The VESDA VSP-962 filter cartridge may be used for VEU/VEP/VES aspirating smoke detectors. Here are the steps for replacing a filter cartridge:

Press down and pivot to remove the filter
When you replace your filter cartridge, it is imperative that you also reset the ASD filter counter. The filter counter is used to monitor the condition of the filter. It tracks the number of particles that pass through the filter during the sampling process. Hence, this counter must be reset once the filter has been replaced to ensure accurate records are being maintained. By tracking filter contamination, the counter helps ensure that the VESDA system provides accurate and reliable smoke detection.
Always make sure you are replacing the filter when you reset your ASD’s filter counter. That is, don’t reset the counter if you haven’t replaced your filter. To reset your filter counter, attach an LCD programmer to the video port in your device. Alternatively, you can use a PC running Xtralis VSC. On the display, navigate to the system settings or maintenance settings. Locate the filter counter reset option, and reset the filter counter through the software interface. Lastly, after resetting the counter, verify that the filter status has been updated and reflects the new filter’s usage status.

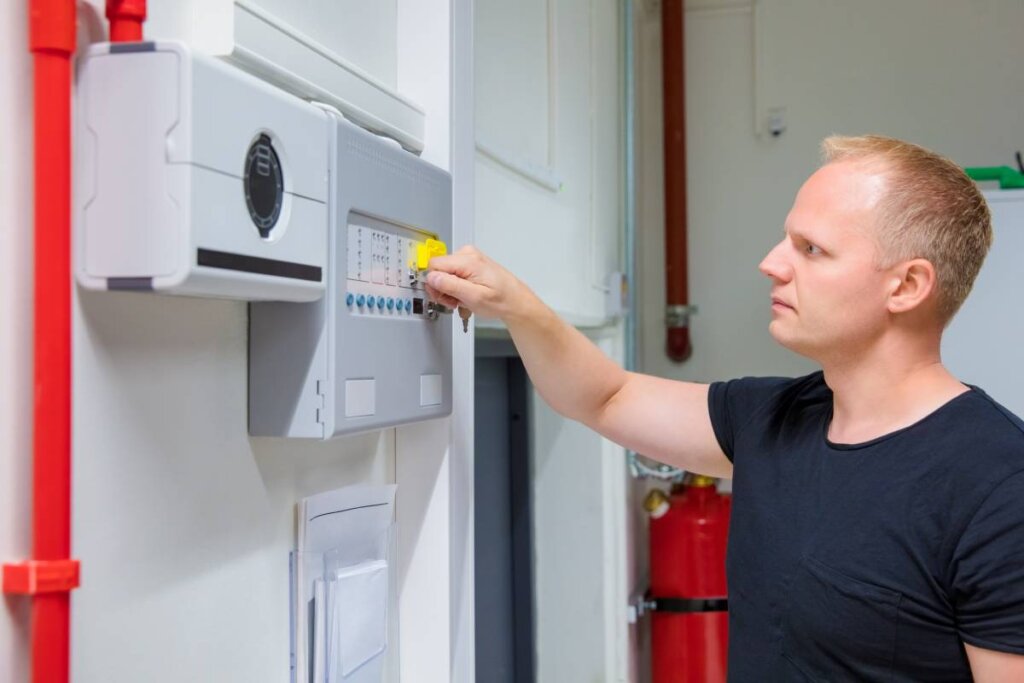
An IT Engineer opening a fire panel next to a VESDA ASD in a server room.
By regularly replacing your VESDA filters and resetting the filter counter, you ensure that your smoke detection system continues to function as designed. ASD systems offer powerful benefits compared to other detection systems. By replacing your filters, you will continue to reap the benefits of your very early detection systems.
At FireAlarm.com, we understand the importance of fire and life safety compliance. Our expert team is ready to assist you with systems design, installation, inspection, and maintenance services tailored to your needs. Don’t compromise on safety—ensure your systems are up to date and effective. Reach out to us today to discuss how we can support you in achieving optimal fire safety in your building.
$95.99
$87.99
$1,129.00
$2,663.00
$10,046.00
$5,698.00
$2,310.00
$6,936.00